Teaching Yourself to Line Brush a Labradoodle
One of the biggest surprises for new Labradoodle owners often revolves around their dog's beautiful, but undeniably high-maintenance, coat. You might think a quick brush over the top is enough, only to discover painful mats forming close to the skin, making grooming a nightmare for both you and your furry friend. This guide is here to walk you through the essential skill of line brushing, ensuring your Labradoodle's coat stays healthy, tangle-free, and beautiful from root to tip.
Understanding Your Labradoodle's Unique Coat and the Matting Challenge
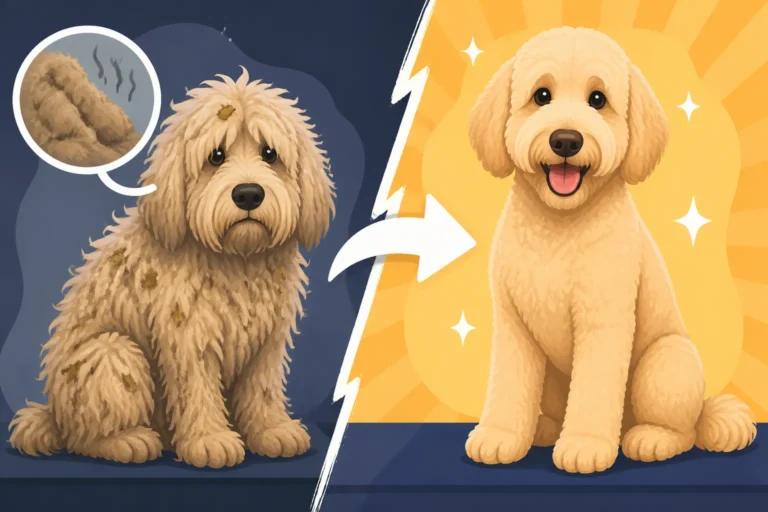
Labradoodles are renowned for their gorgeous, low-shedding coats, but this very quality comes with a trade-off: a strong propensity for matting. Unlike dogs with single coats that shed their hair regularly, a Labradoodle's hair continues to grow, often having a texture ranging from wavy fleece to tight wool. This means dead hair gets trapped within the growing hair, and without proper removal, these trapped hairs quickly intertwine, forming dense, painful mats.
These mats don't just sit on the surface where you can easily see them; they often start deep, right against your dog's skin. This is especially true in areas of high friction, like behind the ears, in the armpits, on the belly, and where harnesses rub. A common period for this intense matting is during The Coat Change That Hits a Labradoodle at Nine Months, when your puppy coat transitions to a denser adult coat. Many owners unknowingly brush only the top layer, leaving the undercoat to felt together, creating a solid, impenetrable layer of mats that can pull on the skin, cause discomfort, and even lead to skin infections if left unattended. This is why just running a brush over the top simply won't cut it.
Equipping Your Grooming Toolkit: Essentials for Line Brushing
Before you begin the actual line brushing process, it's absolutely crucial to have the right tools at hand. Trying to tackle a Labradoodle's coat with the wrong equipment is like trying to build a house with a spoon – frustrating and ineffective. A well-stocked grooming kit will make the experience much smoother and more pleasant for both you and your Labradoodle.
The Essential Brushes and Combs
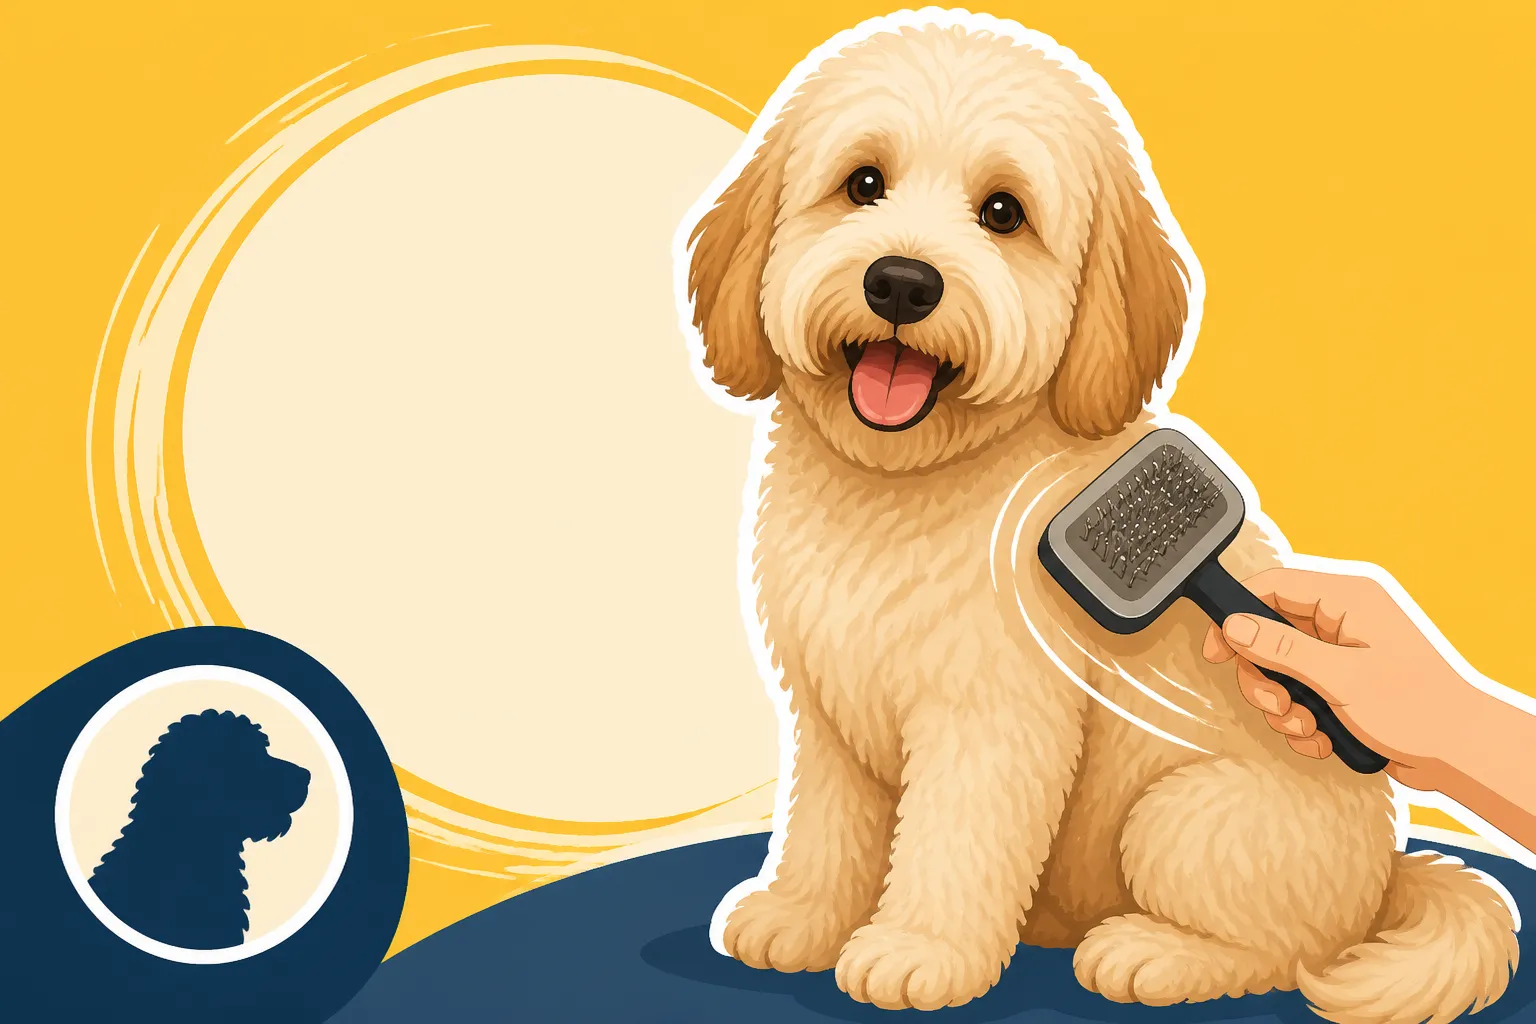
First and foremost, you need a high-quality slicker brush and a sturdy metal comb. The slicker brush, with its fine, wire bristles, is designed to separate and detangle the hair, while the metal comb is your mat-detection and removal expert. Don't skimp on these; cheap tools can bend, break hair, or be uncomfortable for your dog. You can find excellent options for both on pet supply websites like Chewy or Amazon. Remember, The Slicker, Rake and Comb a Labradoodle Takes are not just suggestions, they are necessities for maintaining a Labradoodle coat.
Detangling Sprays and Conditioners
A good detangling spray is a game-changer. It lubricates the hair, making it easier for the brush and comb to glide through, reducing breakage, and minimizing static. Many owners also find a leave-in conditioner to be beneficial, especially for drier coats or during colder months. These products help protect the hair and prevent new tangles from forming. Brands available on Amazon offer a wide range of options, from all-natural formulas to those designed for specific coat types. These aren't just for making your Labradoodle smell nice; they are functional tools in your grooming arsenal. For instance, Detangling Sprays for a Labradoodle are invaluable for reducing friction.
Other Useful Items
A good pair of grooming scissors with blunt tips can be handy for carefully snipping out small, stubborn mats that resist brushing, but use them with extreme caution! A high-velocity force dryer, while an investment, can significantly cut down drying time after baths and help 'fluff' the coat for easier brushing. Finally, a non-slip mat or grooming table can provide a stable surface, making it easier for your dog to stand or lie down comfortably during the session.
Here's a quick overview of your essential grooming tools:
| Tool | Purpose | Key Feature | When to Use |
|---|---|---|---|
| Slicker Brush | Detangles, removes loose hair, and prepares coat for combing. | Fine, bent wire bristles. | Regular brushing, initial mat breakdown. |
| Metal Greyhound Comb | Detects hidden mats, works through tangles, ensures skin-level brushing. | Sturdy metal, wide and narrow teeth sections. | After slicker brushing, checking for mats. |
| Detangling Spray | Lubricates hair, reduces static, makes brushing easier and less damaging. | Liquid spray, often scented or conditioning. | Before and during brushing, especially on dry spots. |
| Blunt-Tip Scissors | Safely remove small, intractable mats that cannot be brushed out. | Rounded tips to prevent accidental pokes. | Only on small, isolated mats; extreme caution needed. |
| High-Velocity Dryer | Dries coat quickly and thoroughly, helps straighten and fluff hair. | Powerful airflow, no heat, multiple nozzles. | After bathing, before major grooming sessions. |
The Art of Line Brushing: A Step-by-Step Guide
Line brushing is a systematic technique that ensures you reach all the hair down to the skin, preventing mats from forming unseen. It requires patience and consistency, but once mastered, it will save you countless headaches and your Labradoodle a lot of discomfort.
Setting Up for Success and Sectioning the Coat
Before you even touch a brush, find a calm, comfortable space where both you and your Labradoodle can relax. Many people find a grooming table helpful to save their back, but a non-slip mat on the floor works too. Have all your tools within easy reach. Gently encourage your dog to lie down on their side. This position is ideal because it exposes areas that are prone to matting, like the armpits and belly, and also allows you to focus on one side of the body. You might need to teach your dog Teaching a Labradoodle to Lie on Its Side for Line Brushing over several sessions.
Now, the crucial step: sectioning the coat. You'll need to use your free hand to create "lines" or partings in your dog's coat. Start at the bottom of a leg, or along the belly, where the hair is typically shorter and easier to manage. Hold a small section of hair up, exposing a line of skin. This is your first "line" of hair to brush.
The Brushing Technique: Working in Lines
With your small section of hair held up, take your slicker brush and begin brushing the hair below the line you've created, working from the tips of the hair towards the skin. Use gentle, repetitive strokes. The goal is to completely brush out this small section of hair, ensuring there are no tangles. Once you've brushed a small area, use your metal comb to confirm your work. Insert the comb into the brushed section, all the way down to the skin, and gently pull it through. If the comb glides smoothly, that section is mat-free. If it catches, go back with your slicker brush and work through the tangle until the comb passes easily.
After clearing one "line," drop a little more hair from the section you're holding, creating a new line just above the one you just finished. Repeat the brushing and combing process on this new line. Continue this method, working your way up the leg, then move onto the body, systematically clearing one small section at a time. It’s like clearing a field, row by row. This methodical approach ensures no spot is missed, even in common trouble areas like Mats Behind a Labradoodle's Ears.
Making it a Positive Experience
Line brushing can be a long process, especially for a full-coated Labradoodle, so patience is key. Keep sessions positive with calm praise and small, high-value treats. If your dog gets antsy, take a short break, offer a quick play, and then resume. It's better to have shorter, more frequent sessions than one long, stressful one. Consistency is also vital; regular brushing, even for just 15-20 minutes a few times a week, will prevent small tangles from becoming giant mats. For many Labradoodles, How Many Times a Week a Labradoodle Needs Brushing is not just a recommendation, but a requirement for a healthy coat. Remember, you're building up their tolerance and trust, so Building a Labradoodle Up to a Long Grooming Session takes time and positive reinforcement.
Navigating Common Line Brushing Challenges
Even with the best intentions and tools, you might encounter some hurdles when line brushing your Labradoodle. Knowing how to address these common challenges can make a big difference in maintaining your sanity and your dog's comfort.
Dealing with Existing Mats
Let's be real, sometimes a mat happens despite our best efforts. If you encounter a mat while line brushing, don't just yank the brush through it. That will hurt your dog and break the hair. Instead, isolate the mat with your fingers. Apply a generous amount of detangling spray or a coat conditioner directly to the mat. Gently try to work the mat apart with your fingers first, starting from the outermost edges and picking at it carefully. Then, use the end teeth of your metal comb or the very tip of your slicker brush to tease out the strands, again starting from the outside of the mat and working your way inward, little by little.
For particularly stubborn mats, you might consider using a mat splitter tool, but again, extreme caution is needed to avoid cutting the skin. If a mat is very tight and close to the skin, it’s often safer to carefully snip into it with blunt-tipped scissors away from the skin to break it into smaller, more manageable sections before trying to brush. If you find a mat that seems impossible to remove without causing pain, or if your dog has multiple large, felted mats, it's always best to seek professional grooming help. Sometimes, Whether a Tight Matted Labradoodle Has Any Other Option means shaving it off to give the dog a fresh start.
The Struggle with Dog Patience and Cooperation
Some Labradoodles are naturally more tolerant of grooming than others. If your dog is squirmy or protests, start with very short sessions, even just a few minutes, focusing on areas they don't mind being touched as much. Gradually increase the duration and expand to more sensitive areas over time. Pairing grooming with positive reinforcement, like treats and praise, can create a positive association. Consistency is key here; a dog that is brushed regularly will generally be more cooperative than one only groomed sporadically when mats appear. If your Labradoodle is particularly sensitive, consider doing sessions when they are naturally tired after a good walk or playtime.
It's also important to consider if your technique itself is causing discomfort. Are you pulling too hard? Are your brushes the right type for their coat? Is the brush clean and free of old hair? Ensuring you're using proper technique and appropriate tools can significantly improve your dog's cooperation. Remember that sometimes the issue is simply that the dog doesn't like being restrained or handled, and you might benefit from guidance from a professional trainer or groomer on positive handling techniques.
Knowing When to Call a Professional
While learning to line brush is an incredibly valuable skill, there are times when professional help is the best course of action. If your Labradoodle's coat becomes severely matted, to the point where the mats are pulling on the skin, causing redness, or restricting movement, it's time to take them to a professional groomer. Attempting to de-mat a severely matted dog at home can be incredibly painful for the dog and risks injury. Groomers have specialized tools and techniques, and sometimes, for the dog's comfort and well-being, the only humane option is a full shave down. Don't feel like a failure if this happens; it's about prioritizing your dog's welfare. Regular grooming habits will help avoid this extreme measure in the future, as well as keeping an eye on The Yearly Grooming Total on a Standard Labradoodle to budget for professional maintenance.
Teaching yourself to line brush your Labradoodle is one of the most important skills you can acquire as their owner. It’s a labor of love that ensures their comfort, prevents painful skin issues, and keeps that beautiful coat shining. With the right tools, a bit of patience, and consistent effort, you’ll master this technique and build an even stronger bond with your furry companion.
Disclaimer
This article is for general informational purposes only and does not constitute professional advice. Laws, prices and regulations vary by location and change over time. Consult a qualified professional for guidance on your specific situation.