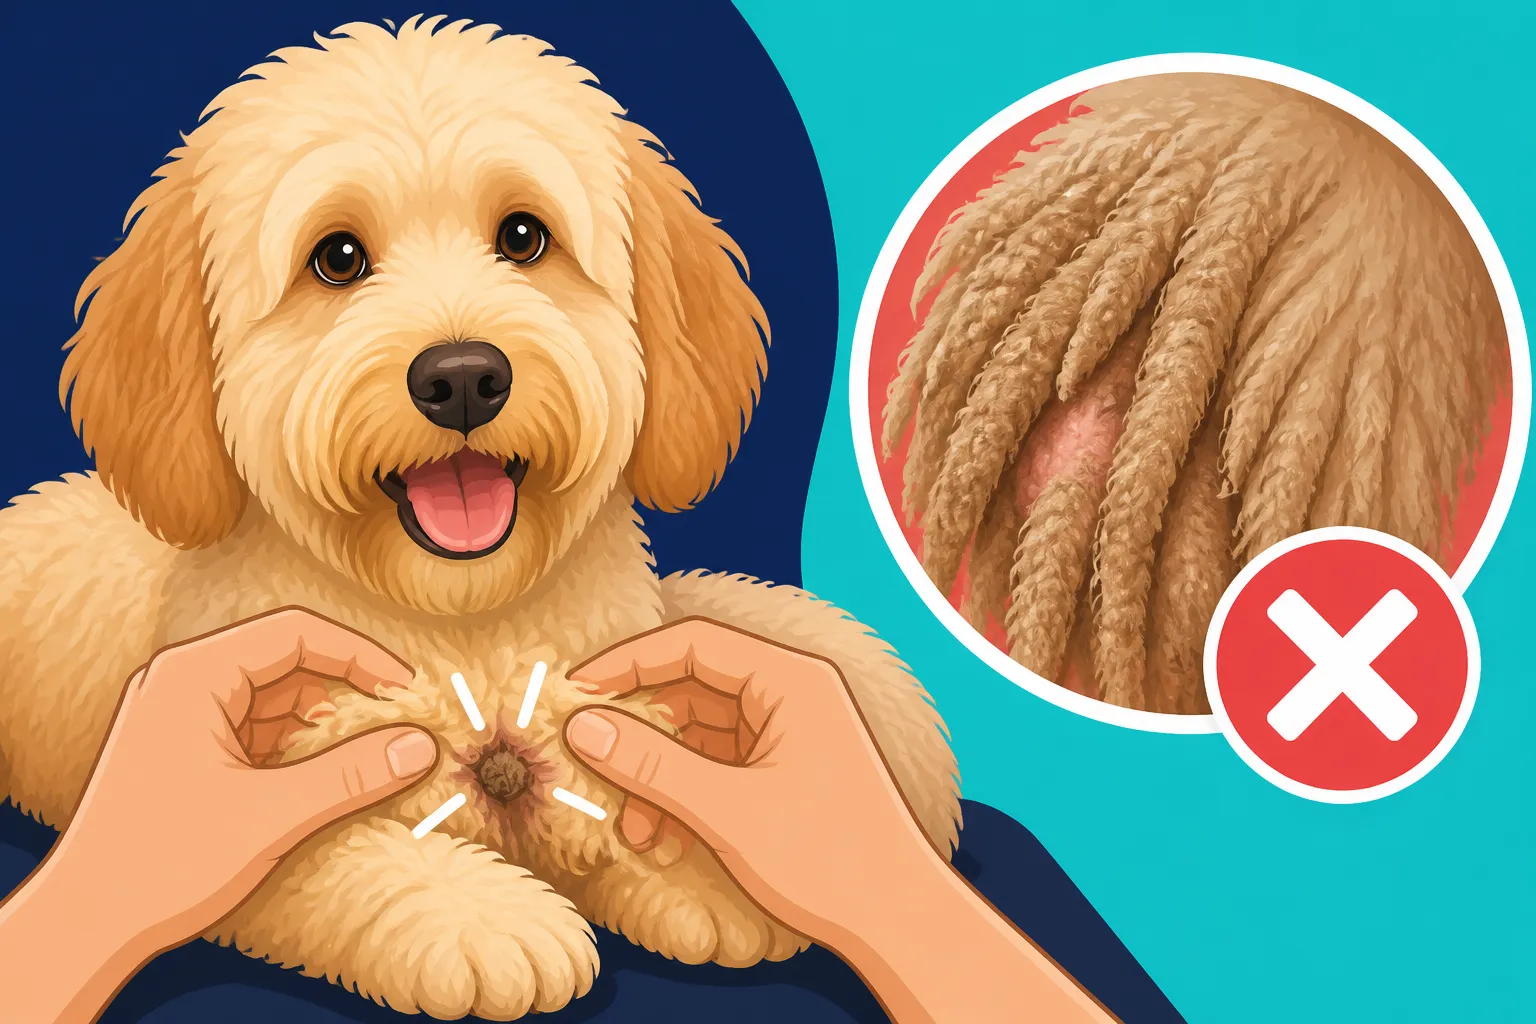
Splitting a Mat on a Labradoodle Before It Tightens
One of the most common frustrations Labradoodle owners face, myself included, is the relentless battle against mats. It feels like one minute their coat is flowing beautifully, and the next, a tangle has cemented itself, threatening to become a painful, solid lump. This guide is all about catching those sneaky mats early, before they become tight, painful, and require a trip to the groomer for a full shave-down. We’ll walk through how to identify them, the right tools to use, and a gentle, step-by-step approach to splitting them safely at home.
Understanding Why Labradoodle Coats Mat So Easily
It’s not just you; Labradoodle coats are notorious for matting! There's a reason so many of us spend hours brushing, and still find those stubborn knots. It comes down to the unique blend of hair from their parent breeds, the Poodle and the Labrador Retriever, and how those different textures interact. Understanding why your dog's coat mats is the first step in winning the battle against it.
The Double Whammy of Poodle and Labrador Hair
Think about it: the Poodle contributes that wonderfully dense, curly, non-shedding (or very low-shedding) coat. It grows continuously and doesn't fall out, meaning dead hair gets trapped within the live hair. The Labrador, on the other hand, has a shorter, denser, double coat that sheds quite a bit. When these two very different coat types combine in a Labradoodle, especially in the earlier generations like F1 or F1b, you often get a coat that traps shed hair and grows continuously. This creates a perfect storm for tangles. Even later generations, like the Australian Labradoodle, which breeders aim to have a more consistent "fleece" or "wool" coat, are still prone to matting because that soft, fine hair is incredibly good at felting together. You might be interested in reading more about The Three Labradoodle Coats: Hair, Fleece and Wool to truly understand your dog's specific coat type.
The Stages of Mat Formation
A mat doesn't just appear overnight; it's a gradual process. It often starts as a small tangle – perhaps a bit of dry shampoo residue, a piece of debris from the yard, or just where the coat rubs together, like behind the ears or under the legs. If this small tangle isn't brushed out promptly, it starts to collect more loose hair and dirt, becoming denser and tighter. Each time your dog moves, the mat tightens further, pulling on the skin and becoming more painful. Moisture, like a quick dip in the lake or even just humidity, can accelerate this process, causing the hair to felt even more quickly. This is why quick action is so vital. Catching it when it's just a tangle or a loose knot is infinitely easier and less stressful for both you and your Labradoodle than trying to tackle a solid, felted mat that has pulled tight against the skin.
The Essential Tools for Mat Prevention and Splitting
You can't go into battle unprepared, and tackling Labradoodle mats is certainly a battle! Having the right tools on hand, and knowing how to use them effectively, is crucial for both preventing mats and addressing them when they inevitably pop up. Don't skimp on quality here; good tools are an investment in your dog's comfort and your own sanity.
Brushes, Combs, and Sprays: Your First Line of Defense
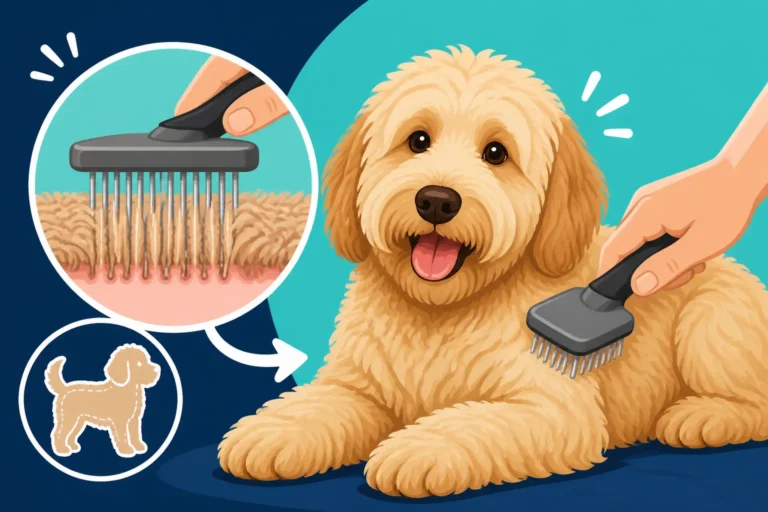
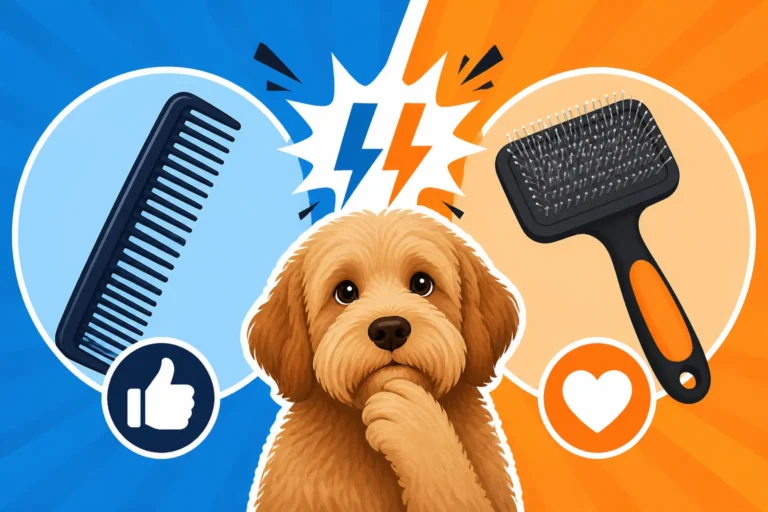
Your primary arsenal against mats should include a high-quality slicker brush, a sturdy metal greyhound comb, and a good detangling spray. The slicker brush, with its fine, angled pins, is excellent for reaching down to the skin and working through smaller tangles, especially during your regular brushing sessions. Remember, you need to be Brushing a Labradoodle to the Skin, Not the Surface to truly prevent mats from forming at the base of the hair shaft.
The metal comb, with both wide and narrow teeth, is your secret weapon for checking your work and for carefully teasing apart smaller knots. Always use the wider teeth first, then follow up with the narrower end. As for detangling spray, think of it as your coat's conditioner. A good spray can lubricate the hair strands, making them slicker and easier to separate, and reducing static electricity which can contribute to tangles. You can find excellent detangling sprays from brands like Bio-Groom or Cowboy Magic readily available on Chewy or Amazon. Never try to brush a dry, matted coat; you'll only cause pain and breakage.
Specialty Tools for Stubborn Knots
Sometimes, a slicker brush and comb aren't quite enough for those slightly more stubborn, but still loose, mats. This is where a mat splitter or a blunt-tipped pair of scissors comes in handy. A mat splitter typically has a series of sharp, curved blades designed to cut through mats in a way that minimizes damage to the surrounding coat. They are used by holding the tool perpendicular to the mat and gently drawing it through.
Blunt-tipped scissors are essential for safety, especially around sensitive areas. These are not for cutting out entire mats, which can be incredibly dangerous and lead to uneven patches, or worse, cutting your dog's skin. Instead, they are for carefully snipping into the center of a mat, along the line of hair growth, to create a "split" that then makes it easier to pull apart with your comb. Always point the blunt tip away from the skin.
Here's a quick overview of essential tools:
| Tool | Primary Use | How It Helps with Mats | Key Consideration |
|---|---|---|---|
| Slicker Brush | Daily brushing, general detangling | Separates individual hairs, removes loose undercoat | Must reach to the skin; gentle strokes |
| Metal Greyhound Comb | Checking for mats, teasing out small tangles | Confirms thorough brushing, works out small knots | Use wide teeth first, then narrow |
| Detangling Spray | Lubricating coat, reducing static | Makes hair slippery, easier to brush through | Always spray generously before working on tangles |
| Blunt-Tipped Scissors | Carefully splitting larger, looser mats | Creates a "cut" in the mat's center for easier separation | Crucially, only snip into the mat, not out (safety first) |
| Mat Splitter (Rake) | Cutting through dense, but not tight, mats | Breaks up mats without removing too much coat | Use with extreme care, parallel to the skin |
Remember that regular, thorough grooming is the best defense. You might find our article The Slicker, Rake and Comb a Labradoodle Takes helpful for a deeper dive into specific brushing techniques.
Step-by-Step: How to Gently Split a Developing Mat
Okay, so you’ve found a budding mat. Don't panic! The key phrase here is "developing mat" – we're talking about those tangles that are still loose enough that you can see skin through them if you pull the hair apart slightly, not the ones that feel like a solid brick against the skin. Catching them early makes all the difference.
Prepping Your Labradoodle and the Mat
First things first, get your Labradoodle comfortable. A calm dog is a cooperative dog. Have them lie down on a non-slip surface, or stand on a grooming table if you have one. You’ll need good lighting so you can clearly see what you’re doing. Gently isolate the mat, separating it from the surrounding clean hair as much as possible. This prevents accidentally pulling on hair that isn't matted, which can cause pain.
Now, liberally spray the mat and the hair around it with your detangling spray. Don't be shy with it! Really soak it down. This acts as a lubricant and makes the hair strands much more flexible and less likely to break. Let it sit for a minute or two to really penetrate the hair. This step is non-negotiable; trying to de-mat dry hair is a recipe for disaster and discomfort.
The Gentle Art of Splitting and Teasing
With the mat saturated, take your blunt-tipped scissors. This is critical: you are going to carefully insert the blunt tip into the center of the mat, parallel to the skin, and make a small snip or two. Think of it like cutting a pizza into slices, but only cutting partway through, to create channels within the mat. You are not cutting the mat off, and you are not cutting towards the skin. Your goal is to break the mat into smaller, more manageable sections. Make sure you can always see the blunt tip as you work to avoid any nicks.
Once you've made a few cuts, take your metal comb, starting with the wide-toothed side. Begin working from the very outer edge of one of the "split" sections of the mat. Hold the hair closest to the skin with one hand to create a buffer against pulling on the skin – this is called "line brushing" or "combing from the root up." With your other hand, gently tease out just a few strands of hair at a time, working outwards from the mat's edge. It's like slowly unraveling a sweater, one thread at a time. Work systematically, section by section. As you free up small amounts of hair, move your comb slightly further into the mat. Be incredibly patient. If you meet resistance, don't yank! Re-spray with detangling spray, try a different angle, or make another small snip with your scissors. This process can take time, but it’s worth it to save your dog’s coat and their comfort. Consistent daily brushing is crucial in preventing these situations from getting out of hand, and you can learn more about this in How Many Times a Week a Labradoodle Needs Brushing.
Post-Mat Care and Prevention
Once you've successfully split and combed out the mat, gently brush the entire area with your slicker brush to ensure all the dead hair is removed and the coat is flowing freely. Give your Labradoodle lots of praise and maybe a small treat. They’ve been very brave!
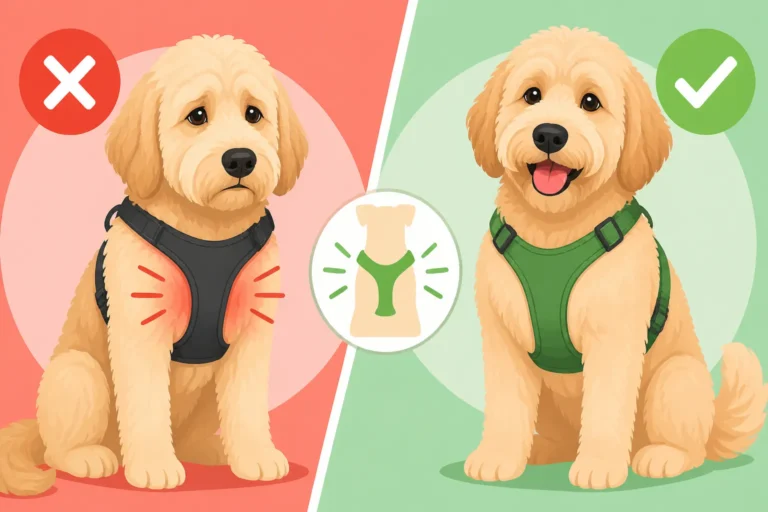
After de-matting, it’s a good time to reassess your regular grooming routine. Are you brushing often enough? Are you reaching all those tricky spots Where Mats Form First on a Labradoodle? Mats often form in areas of friction: behind the ears, under the armpits, in the groin area, and where harnesses or collars rub. Pay extra attention to these spots during your daily brush-out. Consider regular professional grooming appointments, perhaps every 6-8 weeks, to keep the coat in top condition. Groomers have specialized tools and expertise to prevent small tangles from becoming big problems. Some owners even use specific supplements or consider high-quality dog food, like that offered by Ollie, which can contribute to a healthier, stronger coat, making it less prone to breakage and matting. A good diet supports overall coat health from the inside out.
When to Call in the Professionals (No Shame in It!)
We’ve all been there. You swear you just brushed them, and then suddenly, there's a mat that feels less like a knot and more like a rock-hard felted patch against the skin. Sometimes, no matter how diligent you are, a mat can get out of hand, or you might find one you completely missed. It's absolutely crucial to recognize when a mat is beyond your capabilities at home, and to not feel guilty about seeking professional help. Your dog's comfort and well-being always come first.
Recognizing a Mat That's Too Far Gone
So, how do you know when it's time to put down the comb and pick up the phone? A mat is likely too far gone for safe home splitting if:
- It's tight against the skin: You can't get your fingers between the mat and your dog's skin, or the skin is visibly pulled or reddened.
- It covers a large area: A mat that spans several inches or wraps around a limb is incredibly difficult and painful to address at home.
- Your dog is showing pain or aggression: If your Labradoodle yelps, growls, or tries to bite when you even touch the mat, it's a clear sign it's causing them significant discomfort.
- You can't see the skin: If the mat is so dense that you can't even tell where the skin begins, attempting to cut or comb it out yourself is extremely risky.
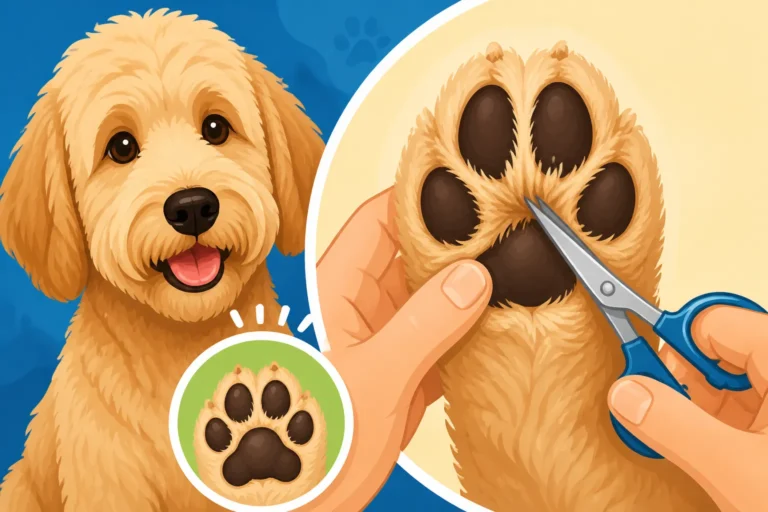
- It's near a sensitive area: Mats around the ears, eyes, genitals, or paw pads are particularly dangerous to tackle without professional experience.
In these situations, attempting to split or cut out the mat yourself can lead to accidental nicks or cuts, severe skin irritation, and can turn your dog against future grooming sessions. It's simply not worth the risk. Our article Whether a Tight Matted Labradoodle Has Any Other Option delves into this in more detail.
The Groomer's Approach to Severe Matting
Professional groomers are trained and equipped to handle even the most severe matting. They understand dog anatomy, coat types, and how to work safely and efficiently. For truly tight, dense mats, the groomer's primary solution is often to shave under the mat. This means going in with clippers and carefully removing the matted hair by getting underneath it, rather than trying to cut or brush through it. This is done with specialized blades and techniques to minimize the risk of "clipper burn" or skin irritation.
It might mean your beautiful Labradoodle comes home looking a little less fluffy than usual, sporting a "kennel clip" or "shave down." While it can be a shock to see, it’s genuinely the kindest and safest option for your dog. It removes the painful pulling on their skin, allows their skin to breathe (preventing potential skin infections), and gives their coat a fresh start. A skilled groomer can often shape the remaining hair as best they can, and will always prioritize the dog's comfort over aesthetics. They might even recommend specific shampoos or conditioners, often available through retailers like Amazon, to help restore coat health after a shave-down.
Don't see a professional shave-down as a failure on your part. It's an act of kindness for your dog, freeing them from discomfort. Use it as a learning opportunity and a chance to reset your grooming routine, making sure to schedule regular appointments and diligently brush at home to prevent severe matting from happening again.
Disclaimer
This article is for general informational purposes only and does not constitute professional advice. Laws, prices and regulations vary by location and change over time. Consult a qualified professional for guidance on your specific situation.